Fixing CO2 Laser Beam Drift and Alignment Problems
Beam drift and misalignment degrade cut quality and accuracy. This guide lists common symptoms, likely causes, and practical fixes for CO2 laser systems, along with daily and maintenance prevention steps.
- Inspect the beam path after every machine move and after lens or nozzle changes.
- Use the manufacturer's alignment tools to correct mirror angles, not guesswork.
- Track beam drift over time and replace optics when cleaning no longer restores performance.
- Keep cutting parameters stable until alignment is verified to avoid material damage.
- Log maintenance actions so drift patterns can be traced to specific components.
Laser Machine Alignment and Beam Drift: Practical Diagnostics
A CO2 laser that starts cutting unevenly, leaves a crooked line, or fails to reach depth on one edge of a part often has an alignment problem. The beam may still fire, but it is not hitting the focal point where the material expects it. This shifts the energy density across the cut face and changes how the material vaporizes or burns.
What does beam drift actually look like on a workpiece?
Drift and misalignment show up as visible defects before they appear as machine errors. A common symptom is a cut that starts clean and gradually wanders off the programmed line. Another is a single edge that cuts shallow while the opposite edge burns through, especially on thicker material.
On acrylic, a misaligned beam may produce a yellowed or hazy line on one side of the cut. Wood can show a darkened, uneven char pattern that shifts from one corner to the opposite corner. Metal engraving or surface treatment can reveal a faint diagonal band where the beam passes slightly off center.
These patterns are useful diagnostic clues. A straight but shallow cut usually points to a focal length issue or a mirror that has shifted in the vertical plane. A curved cut or one that tapers at the end often points to a beam path that is not parallel to the gantry rails.
When troubleshooting, examine the first few centimeters of the cut and the last few centimeters separately. A shift at the start of a job often indicates a beam path error that existed before cutting began. A shift that appears only at the end of a long cut often indicates thermal movement or a loose component that relaxes as the machine warms up.
Check the workpiece for consistency across multiple parts. If the first part is straight and the tenth part is curved, the issue is likely thermal. If every part shows the same diagonal offset, the mirror alignment is static and needs correction.
How to check the beam path before changing settings
Do not change power, speed, or focus until the beam path is verified. A misaligned beam can be mistaken for a wrong cutting parameter, which leads to wasted material and more confusion.
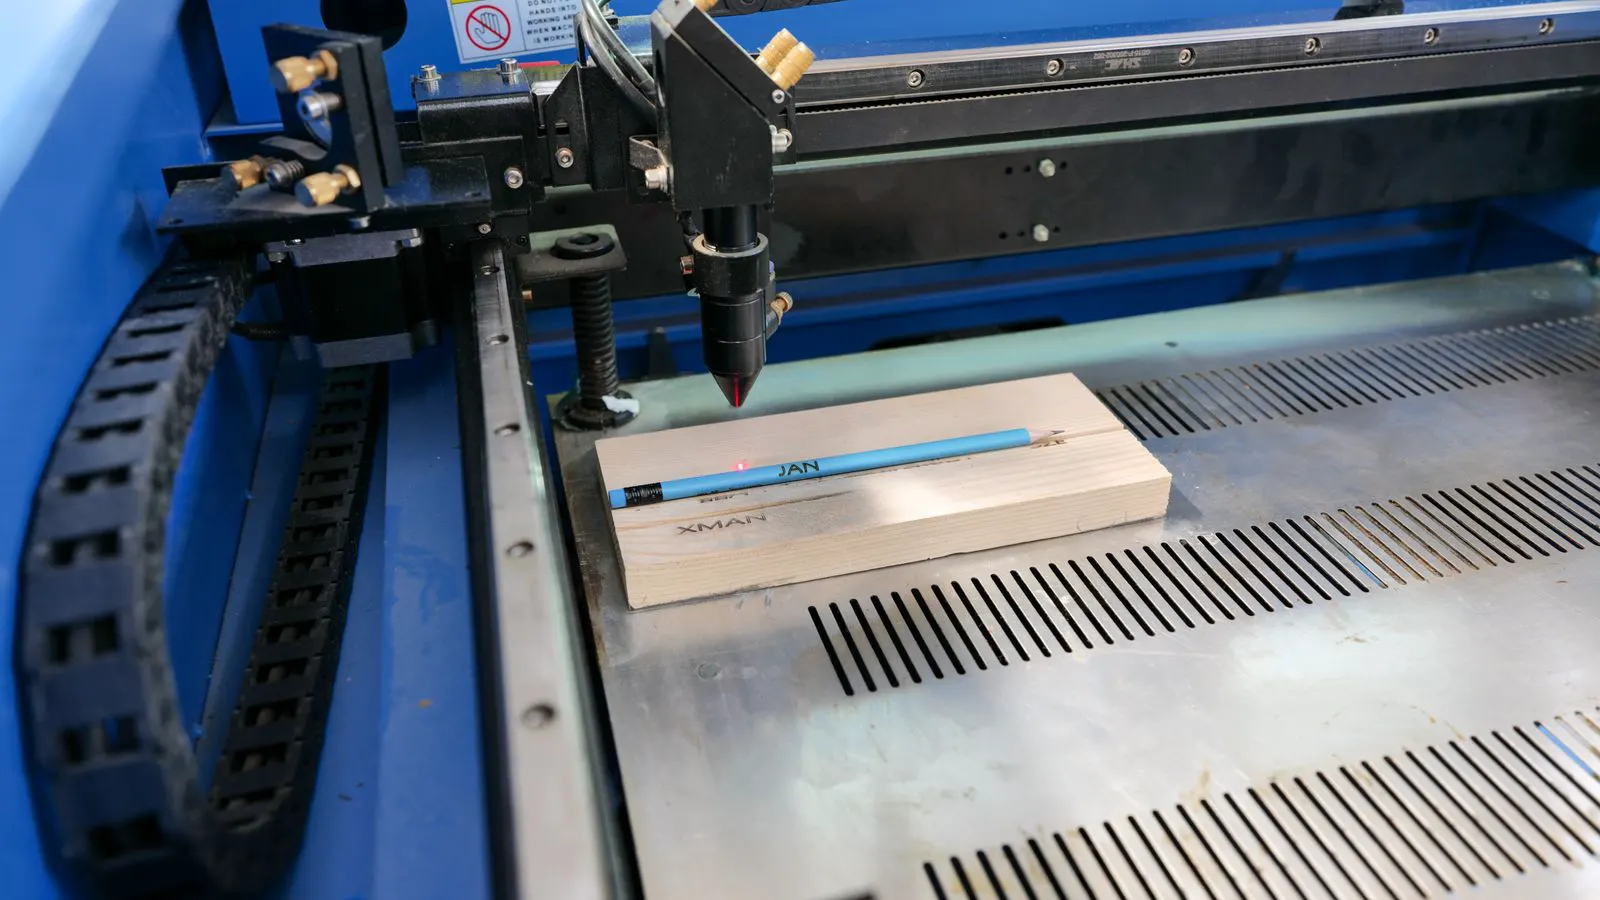
Start at the laser tube. Look for the beam exiting the tube end. If the machine has a viewing window or a test plate, use it to see where the beam lands. Then trace the beam through each mirror toward the head. Many machines include a beam splitter or a small alignment tool for this purpose.
Check each mirror for dust, oxidation, or visible scratches. A small particle on a mirror can bend the beam enough to cause drift over a long travel distance. Clean the optics with the solvent and cloth recommended by the manufacturer. Do not use abrasive pads or household cleaners.
If the beam does not hit the center of the next mirror, adjust the mirror screws. Tighten or loosen them in small increments. After each adjustment, recheck the beam position at the next point in the path. Repeat until the beam is centered through the entire train.
Pay attention to the beam diameter at each stage. It should remain consistent as it travels from the tube to the head. If the beam spreads or narrows significantly, the optics may be damaged or the tube window may be failing.
Common alignment problems and their fixes
The table below lists the most frequent symptoms, likely causes, and corrective actions.
| Symptom | Likely cause | What to do |
|---|---|---|
| Cut wanders off the programmed line | Mirror tilt or loose mirror mount | Realign each mirror and tighten mounting screws |
| One edge cuts shallow while the other burns through | Beam not centered on the nozzle or head | Adjust mirror angles and check the head position |
| Cut line is hazy or discolored on one side | Beam passing off center on the material | Verify focal length and confirm the beam is centered |
| Beam intensity drops across the travel distance | Dirty optics or worn tube window | Clean the tube window and mirrors, then replace if needed |
| Beam shifts after the machine is moved | Loose tube, loose rails, or misaligned head | Recheck tube mounting and head alignment after relocation |
| Beam drifts over time during a long job | Thermal expansion or loose mirror screw | Tighten screws and check for thermal cycling patterns |
How to correct mirror alignment without damaging the optics
Mirror screws on CO2 laser tubes are delicate. A quarter turn can move the beam by a measurable distance. Work slowly and use the machine’s alignment aids.
If the machine has a beam splitter, insert it and view the beam through the eyepiece or camera. Adjust the mirror until the beam is centered on the target. If the machine uses a test plate or a sheet of paper, place it at the nozzle and watch where the beam lands. Move the beam toward the center in small steps.
After adjusting one mirror, check the next mirror. Do not skip steps. A correction at the first mirror can throw off the beam at the second. Finish with a full path check from the tube to the head.
Tighten the mirror screws after alignment. Loose screws allow thermal movement and vibration to shift the beam during operation. If a screw feels loose or stripped, replace it before returning the machine to production.
When adjusting mirrors, hold the housing steady with one hand while turning the screw with the other. This prevents the mirror from rotating on its axis, which can introduce a new misalignment. Use a small screwdriver or the hex key provided by the manufacturer to avoid stripping the threads.
Record the number of turns made during adjustment. If the machine requires re-alignment after a short period, the initial correction may have been too aggressive or the underlying issue may be mechanical rather than optical.
How to maintain cutting accuracy after alignment
Alignment is not a one-time task. It is a habit. The machine’s thermal environment, vibration, and material load all affect beam position over time.
Before a long production run, verify the beam at the start of the job and again halfway through. If the beam position has shifted, stop and recheck the mirrors. Do not continue cutting and try to compensate with software. Compensation can hide a mechanical problem and make it harder to diagnose later.
Keep the machine enclosure clean. Dust that settles on the optics can bend the beam. Wipe down the tube window and mirrors on a regular schedule. Use the recommended cleaning solvent and a lint-free cloth.
If the machine moves to a new location, recheck alignment before the first cut. Tube mounting, rail leveling, and head position can all change after transport.
Check the vibration from nearby equipment. Compressors, fans, or other machines operating in the same room can introduce micro-vibrations that loosen mirror mounts over time. If the room is noisy or has heavy foot traffic, consider adding a rubber mat under the machine to isolate it from floor vibrations.
Monitor the air assist flow. A weak or blocked air nozzle can cause uneven cooling and change how the beam interacts with the material. This is not an alignment issue in the strict sense, but it can mask or worsen the effects of a slightly misaligned beam.
How to decide when to replace optics
Cleaning restores performance when the problem is surface dirt. It does not restore a beam if the optics are damaged. A cracked tube window, a pitted mirror, or a mirror with a visible scratch that scatters the beam will not clean up.
Look for a change in beam shape. A clean beam should be a tight, uniform spot. A damaged optic may produce a beam that looks soft, split, or uneven. If cleaning does not restore a sharp beam, replace the optic.
Replace the tube window when it shows visible cracking or severe discoloration. Replace mirrors when they show pitting, deep scratches, or permanent haze. Keep a spare set of critical optics on hand. A replacement can restore alignment quickly without waiting for a service call.
Inspect the tube window for heat stress cracks. These often appear as fine lines radiating from the center where the beam exits. Even if the crack is small, it can grow under thermal cycling and cause sudden beam failure.
Check the mirror surface for a greenish or brownish tint. This is a sign of oxidation or coating degradation. Oxidized mirrors reflect less energy and can cause uneven cutting or reduced beam intensity.
Store spare optics in a dry, dust-free case. Humidity and airborne particles can degrade coatings before they are ever used. When installing a new optic, handle it by the edges only to avoid leaving fingerprints on the reflective surface.
How to log drift patterns for faster diagnosis
Keep a simple log of alignment checks. Record the date, the machine ID, the material being cut, and the beam position at each check. Note any visible defects on the workpiece.
A log makes it easier to see patterns. If drift appears only after the machine has been running for a long time, thermal expansion may be the cause. If drift appears only when cutting a specific material, the heat load on the beam path may be different. If drift appears after a move, the mechanical setup may be unstable.
Use the log to schedule maintenance. If the beam shifts by a certain amount after a set number of hours, plan to recheck the mirrors before the next shift. This prevents quality loss and makes the maintenance window predictable.
Include the ambient temperature in the log. Thermal drift is more pronounced in rooms with significant temperature swings. If the machine sits in a cold garage in the morning and warms up during the day, the beam position may shift as the metal parts expand.
Note the type of work being done. Cutting thick steel generates more heat in the enclosure than cutting thin acrylic. This heat can cause the tube housing to expand unevenly, shifting the beam. Tracking the workload alongside the alignment data helps identify whether the drift is mechanical or thermal in origin.
Review the log monthly. Look for trends that indicate a component is wearing out. If the required number of mirror adjustments increases over time, the mounting hardware may be loosening or the tube window may be reaching the end of its useful life.
Frequently asked questions
Can software compensate for beam drift?
Software can adjust cut paths, but it cannot fix a mechanical alignment problem. Compensation may hide a defect and make it harder to find the root cause.
How often should I check mirror alignment?
Check the beam path after every move, after lens or nozzle changes, and at the start of long production runs. A quick check before cutting prevents bad parts.
What causes a beam to drift during a long cut?
Thermal expansion, loose mirror screws, and vibration are common causes. A beam that shifts as the machine warms up usually points to thermal movement.
Can a dirty tube window cause cutting errors?
Yes. A dirty or damaged tube window can scatter the beam and reduce intensity. Clean the window first and replace it if the beam does not improve.
Should I change cutting parameters if the beam is misaligned?
No. Fix the alignment first. Changing power or speed while the beam is off center can damage the material and make the problem harder to diagnose.