Laser Enclosure Design Costs and Lead Times for Buyers
Laser enclosure costs depend on size, laser class, material, and safety features. Lead time varies from weeks to months based on customization. A clear RFQ helps buyers compare quotes fairly and avoid delays when purchasing industrial laser protection systems.
- Enclosure pricing moves with laser power, enclosure size, and required safety standards.
- Lead time extends when custom framing, software integration, or specialized filtering is needed.
- A detailed RFQ reduces back-and-forth and helps buyers compare quotes on the same basis.
- Budget for installation, grounding, and maintenance access to avoid hidden costs.
- Compare quotes by matching specifications line by line instead of relying on unit price alone.
What drives the cost of a laser enclosure
Laser enclosure costs vary widely. A basic enclosure for a low-power cutting head may cost a fraction of a fully engineered enclosure for a high-power fiber laser system. The difference often comes down to three things: size, laser class, and safety features.
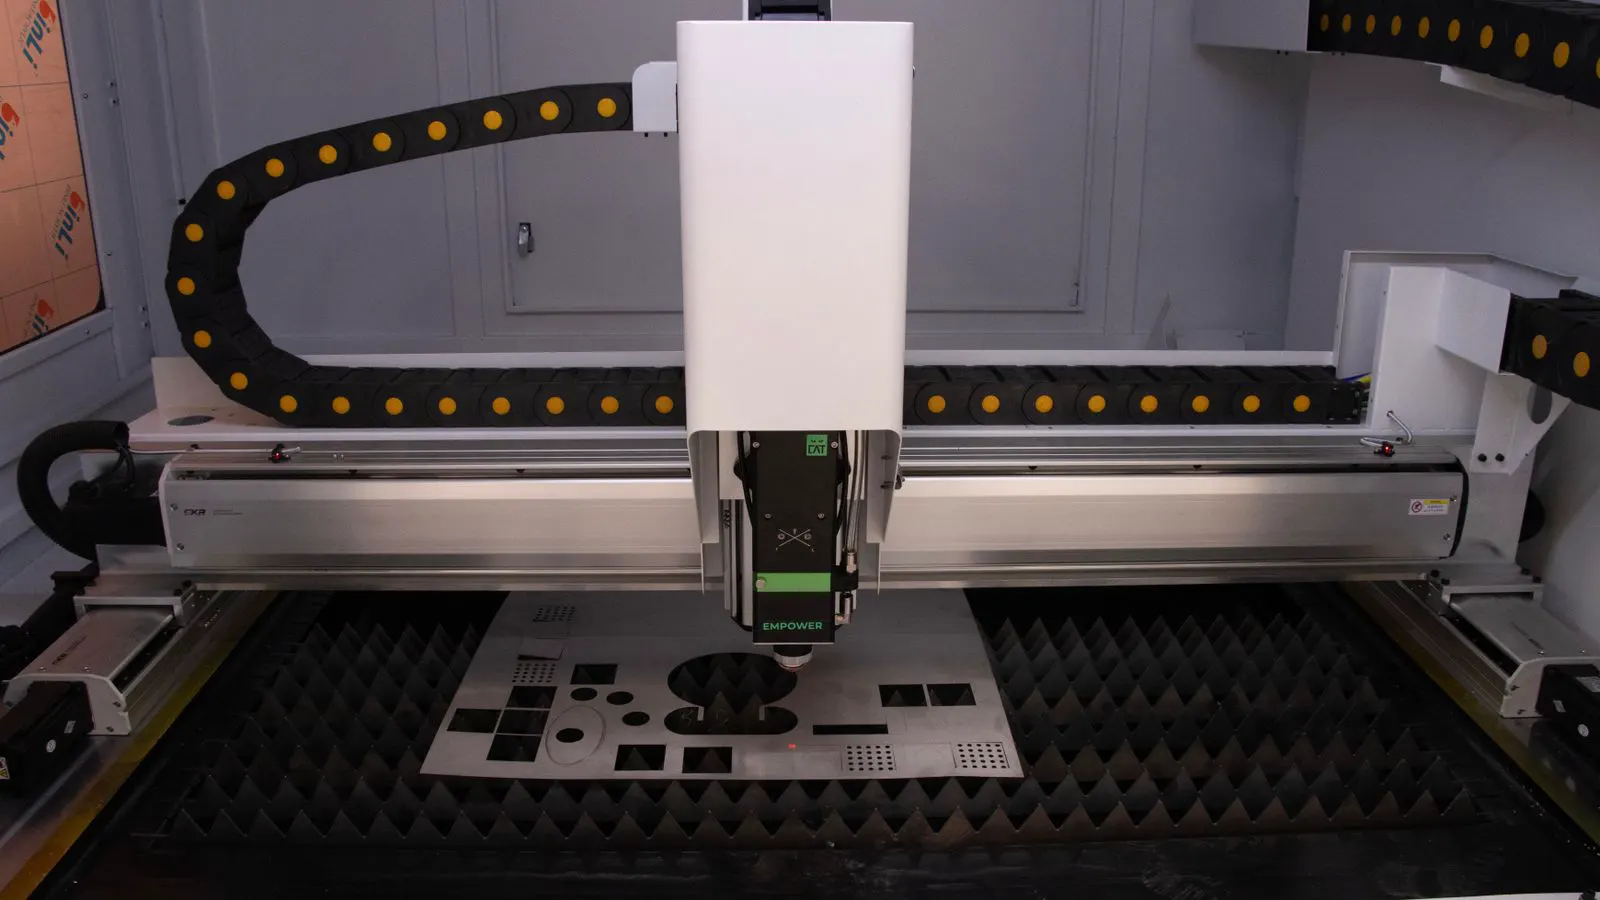
Size affects material cost. A compact enclosure for a desktop or benchtop machine uses less steel, less acrylic, and less wiring. A full enclosure for a 6 by 12 foot cutting table requires more structural framing, a larger viewing window, and more ventilation space. The more volume you enclose, the more material and labor go into the build.
Laser class sets the minimum protection level. Class 1 systems may need a simple shield. Class 3B and Class 4 systems require certified interlocks, shielding that blocks scattered light, and sometimes remote operation. Higher classes mean more testing, more documentation, and more specialized parts.
Safety features add cost. Interlock switches, emergency stops, optical filters, and ventilation systems each contribute to the final price. Some buyers add features that are not strictly required by their local regulations but improve operator comfort or compliance for future inspections.
What drives the lead time for an enclosure
Laser enclosure lead time depends on how much custom work is involved. A standard unit with off-the-shelf components can move quickly. A custom enclosure with special dimensions, integrated software, or unusual material requirements takes longer.
The first stage is design review. The vendor needs to confirm laser wavelength, power, enclosure size, and required certifications. If the buyer cannot provide these details quickly, the timeline slips.
The second stage is fabrication. Cutting, welding, and assembling the frame takes time. Adding a viewing window, doors, or ventilation increases labor hours.
The third stage is testing and documentation. Vendors may run optical tests, interlock checks, and electrical inspections. If the enclosure must meet a specific standard, the vendor may need to issue test reports or certificates.
The final stage is shipping and installation. Long-distance freight, customs, and site preparation can add days or weeks. Buyers who plan for on-site assembly should include time for utility connection, grounding, and final inspection.
How to write a clear RFQ
A good RFQ saves time. It gives the vendor enough information to quote accurately on the first pass. Start with the laser parameters: type, power, wavelength, and class. Then describe the enclosure requirements: dimensions, mounting style, access points, and viewing windows.
List the safety features you need. Interlocks, emergency stops, optical filters, ventilation, and remote operation are common. If you have a preferred standard or certification, state it clearly. If you are unsure, say so and ask the vendor to recommend a compliant setup.
Include the site context. Floor load, power supply, ventilation, and ambient conditions affect design. A vendor that knows the environment can avoid a design that fails in your facility.
Finally, set a target date. A clear deadline helps the vendor prioritize the project and flag any risks early. If the date is fixed, say so. If it is flexible, note the range.
How to compare quotes fairly
Comparing laser enclosure quotes is easier when the specs match. Ask each vendor to price against the same RFQ. Then compare line items, not just the total.
Look at the frame material. Aluminum, steel, and stainless steel have different costs and maintenance profiles. Aluminum is lighter and easier to work with. Steel is more rigid and often cheaper per unit of strength.
Look at the viewing window. Acrylic and polycarbonate are common. Some windows are treated to reduce scratching or improve clarity. A higher-grade window costs more but may last longer in a dusty environment.
Look at the interlock system. The number of doors, switches, and wiring paths affects cost. A vendor that bundles interlock testing with the enclosure price may look more expensive at first but simpler to manage.
Look at the warranty and support terms. A slightly higher price may come with longer coverage, faster response times, or included maintenance. Factor those into the decision.
Typical cost drivers at a glance
The table below lists the main factors that move price and delivery time. Use it as a checklist when reviewing quotes.
| Cost Driver | What It Affects | Typical Impact |
|---|---|---|
| Laser power and class | Required shielding, interlocks, and testing | Higher class means more safety components and documentation |
| Enclosure size | Material, labor, and shipping | Larger units cost more and take longer to build |
| Frame material | Structural strength, weight, and finish | Steel, aluminum, and stainless have different price points |
| Viewing window | Clarity, durability, and optical filtering | Upgraded windows add cost and may require special cutting |
| Interlock and E-stop | Number of switches, wiring, and testing | More access points increase complexity and labor |
| Ventilation and cooling | Fan size, filtration, and noise | Higher heat loads require larger systems |
| Custom dimensions | Design time, fabrication, and fitting | Non-standard sizes slow the process and raise price |
| Certification and documentation | Testing, reporting, and sign-off | Required standards add time and may require third-party review |
Common mistakes buyers make
Buyers often underestimate the impact of site conditions. A facility with poor grounding, limited power, or high ambient dust can change the enclosure design. If the site is not ready, the enclosure may arrive and sit idle.
Another mistake is asking for a quote without specifying the laser parameters. A vendor cannot price a Class 4 enclosure the same way as a Class 1 enclosure. Vague requests lead to generic quotes that do not reflect the actual risk.
A third mistake is ignoring maintenance access. If a door is too small or a filter is hard to reach, routine service becomes slow and costly. Plan access points before the design is finalized.
A fourth mistake is comparing the lowest price without checking what is included. Some quotes include installation and testing. Others cover only the unit. Clarify the scope before deciding.
How to reduce delays
Reduce delays by preparing the RFQ early. Gather the laser datasheet, a site plan, and a list of required safety features. Send these to at least two or three vendors. The more information you provide, the faster they can respond.
If the project is time-sensitive, ask about production slots. Some vendors have standard units in stock. Others build to order. Knowing which option you are buying can save weeks.
If the site requires special preparation, start that work in parallel. Electrical rough-in, floor reinforcement, and ventilation hookup can proceed while the enclosure is being fabricated. This overlap shortens the total timeline.
Finally, confirm the delivery terms. Incoterms, freight class, and unloading requirements vary. A miscommunication at the dock can delay installation by days.
What to expect when the enclosure arrives
When the enclosure arrives, inspect it before unloading. Check the frame for damage, the windows for cracks, and the electrical connections for secure mounting. Photograph any issues and notify the vendor immediately.
Once on site, verify that the interlocks and emergency stops work as specified. Test each door and switch. Confirm that the ventilation runs without excessive noise. Check that the grounding is secure.
Keep the documentation. Test reports, manuals, and warranty cards should be stored with the machine records. If a future inspection or audit occurs, these documents provide a clear trail.
After installation, schedule a short training session for the operators. Even a basic review of the interlock logic and emergency stop procedure reduces the chance of misuse. It also helps the team respond correctly if something goes wrong.
Final checklist for buyers
Before you commit to a quote, run through this list.
- Confirm laser power, wavelength, and class.
- Define enclosure dimensions and mounting style.
- List required safety features and certifications.
- Provide site conditions and access constraints.
- Set a target delivery date and note flexibility.
- Ask vendors to quote against the same specification.
- Compare line items, not just total price.
- Verify warranty, support, and installation scope.
- Plan site preparation and installation in parallel.
- Review documentation and schedule operator training.
How to budget realistically
Budget for the enclosure as a system, not a single item. The unit price is only part of the cost. Installation, grounding, ventilation hookup, and testing also require money and time.
If the enclosure replaces an older shield, factor in the cost of removing the old unit and disposing of it. If the new enclosure requires a new power feed or a new ventilation duct, add that to the estimate.
If you are buying multiple enclosures, ask about volume pricing. Some vendors offer discounts for multi-unit orders. Others charge more per unit for small batches.
If the project spans several months, account for price changes. Material costs and labor rates can shift. A fixed-price contract with a clear change order process helps protect the budget.
When to choose a vendor over a contractor
A vendor who manufactures the enclosure can provide a single point of contact for design, fabrication, testing, and warranty. A local contractor may be better if the site needs custom integration with existing plant systems.
In many cases, a hybrid approach works well. The vendor supplies the enclosure and core safety components. The local contractor handles site integration, electrical work, and final commissioning. This split can reduce risk and speed up delivery.
When using a hybrid approach, define the handover point clearly. Who tests the interlocks? Who signs the final report? Who handles the warranty? A short written agreement prevents disputes later.
How to handle changes after the quote
Design changes are common. A buyer may discover that the floor cannot support the planned size, or that the laser power is higher than expected. When that happens, return to the vendor with a revised RFQ.
Ask for a revised quote that shows the cost and schedule impact. Do not assume the original price still applies. A small change in laser class or enclosure size can have a large effect on the final number.
If the change affects safety compliance, involve the vendor’s technical team early. They can identify whether the modification requires additional testing or documentation. This step prevents rework and keeps the project on track.
How to verify the final enclosure
Before signing off, verify that the enclosure matches the approved design. Check the frame, windows, doors, interlocks, and electrical connections. Confirm that the labeling and warnings are correct.
Review the test reports. They should show that the enclosure meets the required optical and electrical standards. If the reports are missing or incomplete, ask the vendor to provide them before final payment.
Take photos of the installed enclosure. These images help with future maintenance and provide a visual record of the as-built condition. They also make it easier to compare against future modifications.
Keep the warranty documentation in a safe place. Note the start date, the coverage period, and the response time for service calls. If the warranty is limited to parts only, clarify what labor is covered.
How to plan for the future
Laser enclosures are not one-time purchases. They may need upgrades if the laser power increases or if safety requirements change. Plan for that by keeping the design modular.
Modular design allows you to add or replace components without rebuilding the whole unit. For example, a larger viewing window or an upgraded filter can be installed without changing the frame.
Keep a spare parts list. Interlock switches, fuses, fans, and door seals wear over time. Having spares on hand reduces downtime when a component fails.
Review the enclosure annually. Check for corrosion, wear, and loose connections. Update the documentation if any changes are made. A well-maintained enclosure performs better and remains easier to certify.
Bottom line for buyers
Laser enclosure costs and lead times are driven by laser class, size, materials, and safety features. A clear RFQ and fair quote comparison help buyers get an accurate number and a realistic delivery date. Plan for installation, testing, and maintenance. Keep the documentation current. Treat the enclosure as a long-term part of the machine, not a one-time purchase.
Frequently asked questions
Can I use a standard enclosure for a Class 4 laser?
Only if it is certified for that laser class and power level. Verify the wavelength, power, and required interlocks before buying.
How long does a custom laser enclosure usually take?
Custom enclosures can take several weeks to months. Design review, fabrication, testing, and shipping all add time.
What is the biggest cost driver?
Laser class and required safety features usually drive the most cost. Higher classes need more shielding, interlocks, and documentation.
Should I buy the enclosure separately from the laser?
Some buyers do. It gives flexibility but requires careful integration. A vendor that supplies both may simplify installation and warranty.
What documents should I keep after installation?
Keep test reports, manuals, warranty cards, and as-built drawings. They help with maintenance, audits, and future modifications.