Laser Marking Machine Buyers Guide for Aluminum and Stainless Steel
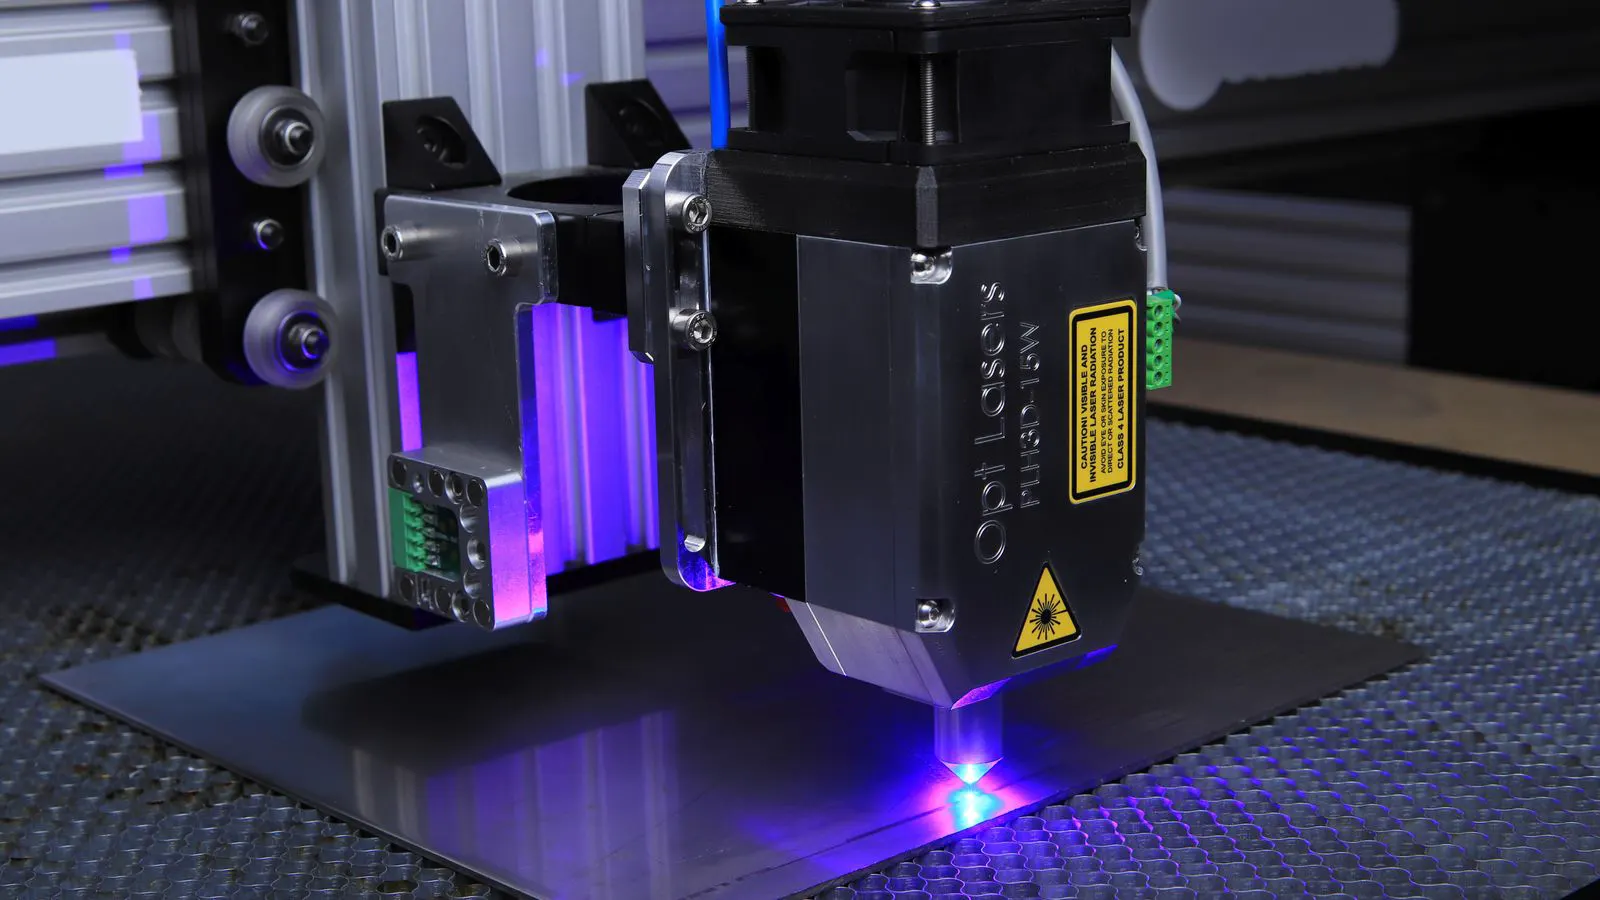
Select a marking system by matching beam type, power, and optics to your material and contrast needs. Evaluate head options, software, and maintenance costs. Use the criteria table and checklist to narrow shortlisted systems before final purchase.
- Match beam type to material. Fiber works well on aluminum and stainless steel, while CO2 suits painted surfaces and some plastics.
- Check contrast requirements. Etching is durable, but dark or light contrast depends on material and finish.
- Verify head options. Rotating heads and interchangeable optics extend one machine's capability.
- Evaluate software and maintenance. Easy file handling and low-cost consumables reduce operating costs.
- Test samples. Run a trial batch on your actual stock before committing to a full purchase.
How to Match Beam Type to Material
Fiber and CO2 systems behave differently on metal. Fiber delivers a short wavelength that interacts cleanly with aluminum and stainless steel. The beam focuses tightly, which helps when you need fine lines, small fonts, or complex logos. This tight focus allows the energy to stay concentrated on a small area. That concentration creates a sharp edge without spreading the heat into the surrounding metal. For thin sheet, this control prevents bubbling or warping near the mark.
CO2 systems use a longer wavelength. They work well on painted metal, but they struggle on bare aluminum and stainless steel. The coating absorbs more energy than the metal does. Without paint or ink, the mark may fade or disappear. The longer wavelength passes through many metallic surfaces rather than being absorbed by them. This makes bare metal a poor substrate for CO2 marking. Paint, ink, or dark anodized coatings provide the absorption needed for a visible result. If you mark painted housings, CO2 remains a valid option. Some buyers run both systems in one facility. They use CO2 for painted housings and fiber for structural steel and aluminum.
Check your primary material first. Do not select a system based on secondary uses. A fiber machine will not produce a visible mark on bare stainless steel if the power is too low. A CO2 machine will not etch aluminum cleanly without a dark anodized finish. The interaction between the beam and the surface dictates the final result. If your production line handles a mix of materials, define the majority share. If ninety percent of parts are bare steel, a fiber system is the primary investment. If ten percent are painted, a CO2 head or a separate CO2 machine may be needed. Mixing beam types requires careful planning for workflow and space.
What Power Range Fits Your Marking Needs
Power affects contrast and speed. Low power marks may look faint on stainless steel. High power burns or melts the surface. Stainless steel reflects more energy than aluminum. You may need higher power for the same depth on stainless. The reflected energy returns to the optics if not managed correctly. This return can damage the head or the laser source over time. Fiber systems use protective coatings to manage this reflection, but high power still requires careful setup.
Aluminum absorbs laser energy more readily. A moderate power level often produces a clean, dark etch. Stainless steel usually requires a higher power setting. The mark appears as a white or light gray etch. This color difference comes from the oxidation process. The laser heat changes the surface chemistry, creating a micro-etch that appears light against the dark metal. On aluminum, the heat creates a darker mark by altering the surface oxide layer. The specific chemistry depends on the alloy and the surface treatment.
Do not buy maximum power just because it is available. Excess power increases heat damage risk. It also raises maintenance frequency. Choose a power range that covers your thinnest and thickest parts. If you mark thin aluminum sheet, avoid excessive power to prevent warping. Thin material conducts heat slowly, so the energy stays localized. This localized heat can cause the sheet to bow or twist. A lower power setting with a slower scan speed often yields a better result on thin stock. For thicker plates, higher power is needed to penetrate the surface and create a permanent mark.
Speed matters for production. A fast mark with low contrast may fail a visual inspection. A slower mark with high contrast usually passes. Balance speed and contrast for your quality requirements. Test the speed and power combination on your specific material. A mark that looks good at a low speed may fade or become blurred at a high speed. The interaction between beam density and scan rate determines the final quality.
Which Head and Optics to Choose
The marking head determines focus, angle, and repeatability. A standard head works for flat surfaces. A rotating head handles cylindrical parts like tubes and pipes. A multi-axis head adds complexity. A rotating head spins the part or the head around a central axis. This allows the mark to stay perpendicular to the surface at all angles. Without a rotating head, a mark on a cylinder will skew or blur as the part moves.
Interchangeable optics extend one machine’s capability. A long focal length head focuses at a greater distance. It reduces shadowing on uneven surfaces. A short focal length head concentrates energy. It produces sharper edges for fine detail. The focal length changes the size of the focused spot. A shorter focal length creates a smaller spot, which increases intensity. This is useful for small fonts and fine lines. A longer focal length creates a larger spot, which distributes the heat over a wider area. This is useful for deep etching or marking on surfaces with significant height variation.
Check the lens material. Standard lenses work for many metals. Specialized lenses may be needed for certain coatings. Replaceable optics reduce downtime when a lens gets dirty or damaged. A dirty lens scatters the beam, reducing contrast. A cracked lens changes the focus, blurring the mark. Having spare lenses on hand allows for quick swaps. This minimizes production stoppages.
Consider the marking area. A large marking area gives flexibility. It also increases cost. A smaller area may be sufficient for part numbers and logos. Measure your largest part before selecting the head. The marking area is the rectangular zone where the beam can move. If your part exceeds this zone, you will need to stitch marks together. Stitching can create visible seams in the mark. For logos, stitching is usually unacceptable. For part numbers, it may be acceptable.
How Contrast and Mark Quality Affect Acceptance
Contrast is the visual difference between the mark and the surrounding metal. On aluminum, a dark etch often provides high contrast. On stainless steel, a light etch creates contrast against the polished surface. The contrast level depends on the surface finish, the material alloy, and the marking parameters. A high contrast mark is easy to read. A low contrast mark may be invisible under certain lighting conditions.
Some buyers require a specific contrast level. Visual inspection may be enough for internal use. External customers may demand a higher standard. Define your contrast requirement before testing. Ask the customer for a sample image or a physical sample. Compare the marked sample to the customer’s standard. If the customer uses a barcode scanner, test the mark with the scanner. A mark that looks good to the eye may not scan correctly if the contrast is too low.
Mark depth matters for durability. A shallow mark may rub off. A deep etch resists abrasion. Test with a cloth or a mild abrasive. Wipe the mark with a soft rag. Check for smearing or fading. Use a dry cloth first. Then use a damp cloth. Finally, use a mild abrasive pad if the customer specifies it. The goal is to see how the mark holds up under normal handling.
Surface finish changes contrast. Brushed stainless steel may hide shallow marks. Polished steel shows them clearly. Anodized aluminum behaves like a dark substrate. The mark may appear light instead of dark. The surface treatment changes how the laser energy interacts with the material. A raw aluminum part may produce a dark mark. An anodized aluminum part may produce a light mark. Test both finishes if your production includes both.
Always test on finished stock. Raw material may behave differently from treated or coated material. Use the same batch you will produce. Material batches can vary in composition and surface treatment. A mark that works on one batch may fail on another. This variation is common in metal processing.
Software, Connectivity, and Workflow Integration
Software controls marking speed, quality, and data handling. A good system reads part numbers from a database. It places the mark in the correct position. It saves templates for repeat jobs. The software interface determines how quickly an operator can set up a new job. A complex interface slows down production. A simple interface reduces errors.
Connectivity matters for production lines. A USB connection works for small batches. A network connection allows remote updates. Some systems integrate with ERP or MES software. Check compatibility with your existing tools. If your ERP system stores part numbers, a direct connection eliminates manual data entry. This reduces the risk of marking the wrong part. A manual process requires an operator to type the part number into the marking system. This increases the chance of a typo.
File handling affects setup time. A system that reads DXF, SVG, or AI files reduces manual work. A system that requires manual drawing slows production. Test the software with your actual files. A logo file that looks good in a design program may not import correctly into the marking software. Check the vector quality. Ensure the file has clean lines and no unnecessary points. A messy vector file can cause the laser to move in unexpected ways, creating a distorted mark.
Operator training should be minimal. A simple interface reduces errors. A complex system requires more training and more time. Choose a system that your team can run without constant support. The operator should be able to load a part, select a template, and start marking in under a minute. If the setup takes longer, the operator may make mistakes to save time.
Maintenance and Total Cost of Ownership
Laser marking machines have moving parts. The laser diode, lens, and mirror assemblies need regular care. A dirty lens reduces contrast. A misaligned mirror shifts the mark. Regular cleaning is a daily or weekly task. Use a soft brush and a lens cleaning solution. Never touch the lens surface with your fingers. Oils from skin can damage the coating.
Check the service interval. Some systems require annual calibration. Others need more frequent checks. Factor this into your operating plan. Calibration ensures that the beam stays focused and aligned. Without calibration, the mark quality will degrade over time. A drifted mark may still be visible, but it may not meet the customer’s acceptance criteria.
Consumable costs vary. Fiber systems use fewer consumables than CO2 systems. The lens is the main consumable. It lasts longer on fiber. CO2 systems use mirrors and lenses that wear out faster. The gas in a CO2 laser also needs monitoring. Low gas pressure reduces efficiency. A low gas pressure requires more power to produce the same mark. This increases energy use and wear on the system.
Energy consumption is another factor. Fiber systems use less power. They also generate less heat. A lower energy bill reduces long-term cost. Fiber lasers are more efficient than CO2 lasers. They convert electrical energy to laser energy more effectively. This efficiency translates to lower operating costs over the life of the machine.
Budget for unexpected repairs. A failed diode can stop production. A service contract may cover labor. A self-service approach saves money if you have technical staff. A service contract provides peace of mind. It ensures that a technician is available when a problem occurs. A self-service approach requires staff with technical knowledge. It also requires keeping spare parts on hand.
How to Evaluate and Choose a Marking System
Use the table below to compare shortlisted systems. Focus on the factors that matter for your material and production volume.
| Criterion | What to look for | Why it matters |
|---|---|---|
| Beam type and power | Fiber for bare metal, CO2 for painted surfaces | Power determines contrast, speed, and mark durability |
| Marking area and head | Standard for flat parts, rotating for cylinders | Head options match part geometry and reduce setup time |
| Software and connectivity | File reading, database integration, network support | Software affects setup time, data accuracy, and production flow |
| Maintenance and consumables | Service interval, lens life, energy use | Maintenance costs and downtime affect total ownership cost |
| Contrast and durability | Test on finished stock, check abrasion resistance | Contrast and depth determine customer acceptance and longevity |
Follow this process to narrow your selection:
- List your primary materials and part sizes.
- Define your contrast and durability requirements.
- Shortlist two or three systems that match your power and head needs.
- Request sample marks on your actual stock.
- Evaluate software, connectivity, and maintenance terms.
- Compare total cost, not just purchase price.
Do not skip the sample test. A spec sheet may look perfect, but real material behaves differently. Run a small batch. Check the mark under normal lighting. Wipe it with a cloth. Verify the position. Confirm the speed. The sample test reveals how the machine handles your specific material. It also reveals how the software handles your files. If the sample test fails, the machine is not suitable for your production.
Closing Decision Checklist
- Confirm the beam type matches your primary metal.
- Verify the power range covers your thinnest and thickest parts.
- Check the head options for your part geometry.
- Test the software with your actual files.
- Confirm connectivity fits your production layout.
- Review maintenance terms and consumable costs.
- Run a sample batch on finished stock.
- Check contrast, depth, and abrasion resistance.
- Compare total cost, not just purchase price.
- Confirm delivery and training support.
A well-chosen marking system produces clean, durable marks with minimal setup. It fits your material, your part shape, and your production pace. Use the checklist to verify each requirement before signing. The best system is the one that handles your specific job without constant adjustment.
Frequently asked questions
Can one laser marking machine handle both aluminum and stainless steel?
Yes, if it is fiber-based and has enough power. Fiber systems work well on both metals. Check the contrast requirements for each material.
Do I need a rotating head for tubes?
Yes, if you mark cylindrical parts. A rotating head keeps the mark in the correct position as the tube turns. A standard head will not work well on curved surfaces.
How do I know if my contrast is acceptable?
Define your standard before testing. Use finished stock. Check the mark under normal lighting. Wipe it with a cloth. Verify the mark does not smear or fade.
What is the biggest mistake buyers make?
Buying based on spec sheets without testing. Real material behaves differently from raw samples. Run a small batch on your actual stock before purchasing.
Should I buy the most powerful machine available?
No. Excess power risks heat damage and increases maintenance costs. Choose a power range that covers your thinnest and thickest parts.