How to Reduce Laser Downtime: Practical Maintenance Scheduling

To reduce laser downtime, implement a structured laser maintenance schedule based on usage hours. This proactive approach prevents minor issues from becoming major failures, protects optical components, and directly improves the return on investment for your cutting and engraving operations.
- Schedule service based on operating hours, not just calendar dates, to match component wear.
- Track specific failure points like lenses and nozzles to predict needs accurately.
- Keep spare parts on hand to reduce repair time when failures do occur.
- Document all service actions to build a reliable history for future troubleshooting.
- Treat maintenance as a capital budget item, not just an operational expense.
Why Planned Service Beats Reactive Repairs
Unplanned laser downtime costs more than the repair itself. It halts production, shifts operator schedules, and delays delivery commitments. A machine that stops unexpectedly often requires parts that must be ordered. This creates a gap between diagnosis and restart.
Planned laser maintenance focuses on preventing these gaps. It involves inspecting components before they fail. It means cleaning optics before they degrade. It involves checking gas pressure before the system loses stability. When you treat service as a predictable routine, you control the timeline. You also protect the value of the machine.
This guide outlines how to build that routine. It covers the prerequisites, specific steps, and the common mistakes that undermine the process. The goal is clear: keep the machine running, protect the investment, and maximize laser ROI.
Prerequisites: What You Need Before Starting
Before you schedule any service, you need the right data and tools. Without this foundation, maintenance becomes guesswork.
You need access to the machine control panel. Most modern systems log operating hours. You need to know how to read these logs. If the system tracks beam hours separately from machine hours, note the difference.
You need the correct spare parts. This includes consumables like nozzles, lenses, and filters. You also need basic tools such as a multimeter, torque wrench, and air compressor. If you do not have these, identify them now.
You need a maintenance log. This can be a simple digital spreadsheet or a dedicated software module. It must record dates, hours, actions, and parts used. Without this log, you cannot see trends. You cannot prove the machine was serviced.
Finally, you need a trained person. This does not have to be a specialist. It can be an operator who has completed basic safety training. They must understand the machine manual and the specific components they are handling.
Step 1: Establish a Baseline Usage Profile
Start by calculating how the machine actually works. Do not rely on the installed base hours. Look at the last three months of operation.
Separate the hours into categories. Cutting, engraving, and idle time behave differently. Cutting generates heat and wear. Engraving is lighter on the system but may require more precision alignment. Idle time allows components to cool, but it can also let dust settle.
Create a simple ratio. For example, if 80 percent of your time is cutting, your maintenance focus should be on thermal management and consumables. If engraving dominates, focus on head alignment and lens cleanliness. This baseline drives your entire schedule.
Step 2: Define Your Hourly Maintenance Intervals
Set specific service triggers based on operating hours. This is the core of laser maintenance. Avoid arbitrary calendar dates. A machine used in a factory runs differently than one used in a job shop.
Most manufacturers suggest checking certain components every 250 to 500 hours. Nozzles and lenses typically fall into this range. Filters and gas lines may need attention every 500 to 1000 hours. The exact number depends on your material and gas type.
Write these intervals down. Put them in your log. If you do not have a manufacturer recommendation, start with the conservative side. Check more often. You can always extend the interval as you learn the machine.
Step 3: Clean the Optical Path
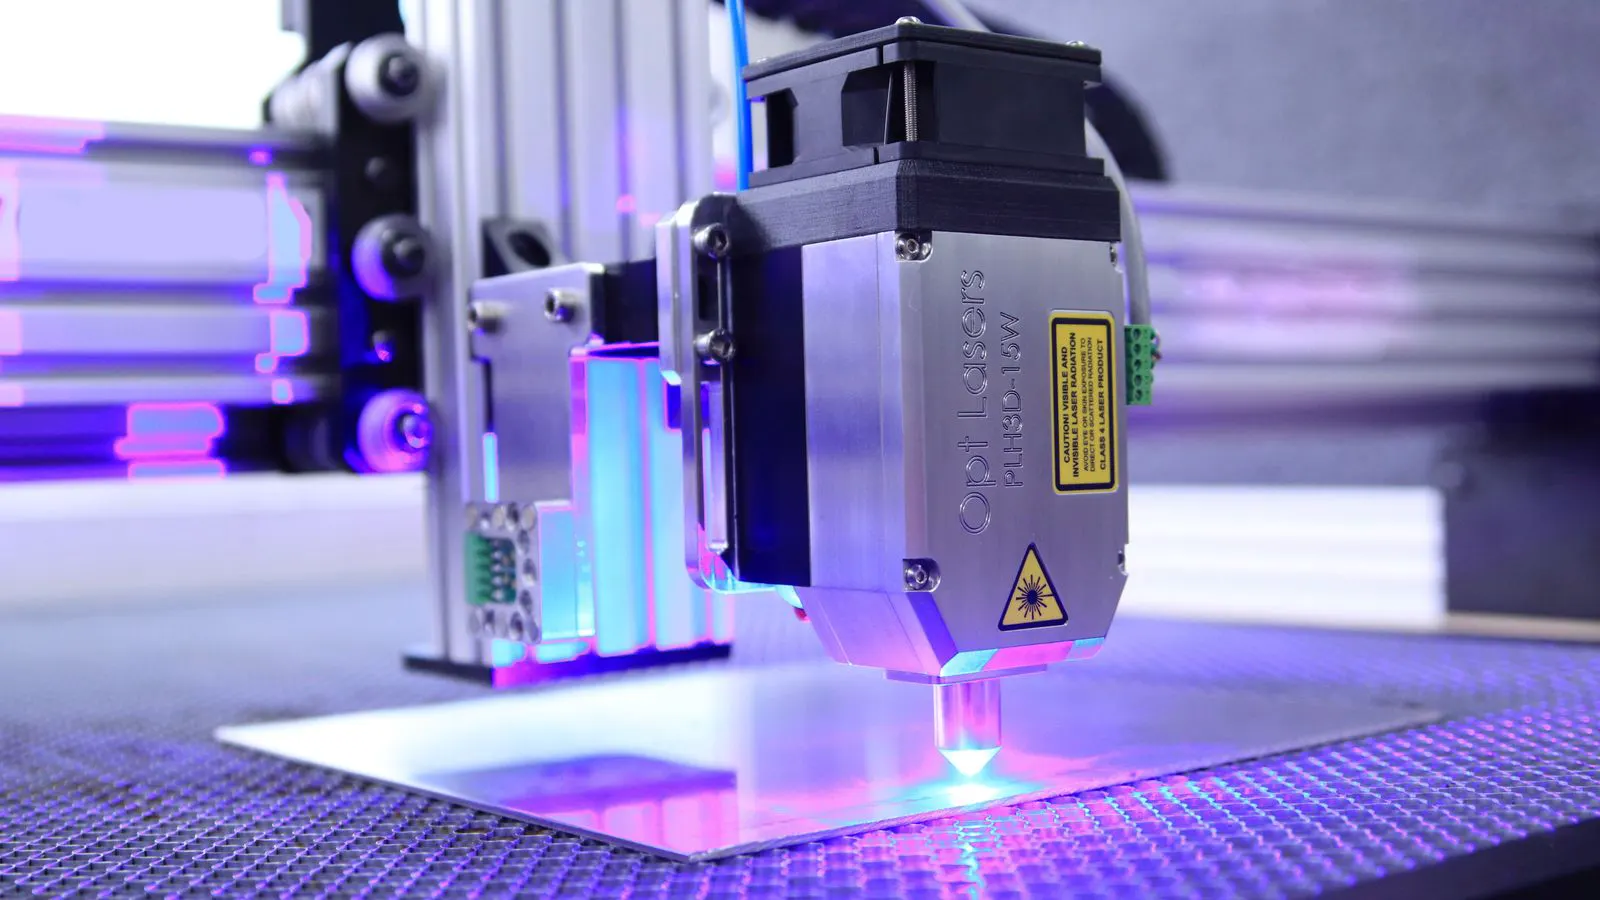
Dust and debris are the enemies of beam quality. A dirty lens scatters the beam. This causes poor cuts, increased heat, and potential damage to the workpiece.
Use approved optics cleaner. Do not use household glass cleaners. They often contain ingredients that leave residue. Clean the lens and nozzle with a soft, lint-free cloth.
Inspect the window. A scratched or dirty window will degrade the beam before it even reaches the material. If you see haze, it needs cleaning. If you see deep scratches, it may need replacement.
This step is short. It takes minutes. But it has a high impact. Clean optics mean a consistent beam. A consistent beam means fewer defects and less rework.
Step 4: Check and Clean the Gas System
The gas system delivers the cutting medium. If the flow is unstable, the cut quality suffers. You may see dross, uneven edges, or incomplete cuts.
Check the gas pressure at the machine inlet. Compare it to the recommended range in the manual. If the pressure is low, look for leaks. Use a leak detection solution. Check all fittings and lines.
Inspect the gas filter. A clogged filter restricts flow. It can cause pressure drops. Replace the filter on schedule. Do not wait until the machine starts to struggle.
Check the nozzle for blockage. A partially blocked nozzle changes the gas flow pattern. This causes poor penetration. Remove the nozzle and inspect it. If it is damaged, replace it.
Step 5: Inspect the Water Cooling System
The laser source needs cooling to operate safely. If the water temperature rises too high, the machine will shut down to protect itself.
Check the water tank. If the water is cloudy or dirty, change it. Dirty water can clog the cooling loop. It can also damage the pump.
Inspect the hoses. Look for cracks, bulges, or wear. Replace hoses that show any sign of aging. A burst hose can flood the machine.
Check the flow rate. If the pump is weak, the flow will drop. You may hear a change in sound. If the flow is low, check for air in the system. Bleed the lines to remove trapped air.
Step 6: Verify Alignment and Calibration
The beam must hit the workpiece at the correct point. If the head is misaligned, the cut will be off. This wastes material and time.
Run a calibration routine. Most machines have a built-in test. It checks the X and Y axes. If the machine drifts, the cut will not follow the path.
Check the head height. If the head is too high or too low, the cut quality changes. Adjust it to the recommended distance for your material.
This step ensures that the machine is set up correctly for production. It prevents errors that are not caused by wear, but by setup.
Step 7: Test Safety Interlocks and Controls
A machine that is unsafe is a machine that cannot run. Check all safety devices.
Test the emergency stop button. It should cut power immediately. Check the doors and guards. They should lock the machine when opened.
Inspect the laser warning lights. They should be visible and functional. Check the key switch. It should prevent startup without a key.
These checks take a few minutes. They protect your team. They also prevent damage from accidental activation.
Common Mistakes That Kill Uptime
Many operators make the same errors. They skip the log. They buy cheap parts. They ignore small warnings.
Skipping the log is the biggest mistake. Without data, you cannot predict failures. You are always reacting. You never learn.
Using cheap parts is a false economy. A bad nozzle may save money today. But it can damage the lens. A bad filter can clog the gas line. The repair cost is higher than the part cost.
Ignoring small warnings is dangerous. A slight change in beam quality may indicate a bigger problem. Do not push through. Stop and inspect.
Final Verification: Confirming the System is Ready
After each service interval, run a test cut. Use the standard material. Check the cut quality. Look for dross, burrs, and edge quality.
Check the error logs. There should be no new errors. If there are, address them immediately.
Review your log. Update the hours. Note the parts used. This completes the cycle.
How This Improves Laser ROI
Maintenance is an investment. It protects the asset. When you reduce downtime, you increase production time. More production time means more revenue.
You also extend the life of the machine. A well-maintained machine keeps its value. It is easier to sell or upgrade later.
Finally, you reduce the cost per part. Fewer defects mean less waste. Less waste means lower material cost. This directly improves your laser ROI.
| Maintenance Task | Typical Interval | Primary Benefit |
|---|---|---|
| Clean lens and nozzle | Every 250-500 hours | Consistent beam quality |
| Check gas pressure | Every 500-1000 hours | Stable cut quality |
| Inspect cooling system | Monthly | Prevents overheating |
| Verify alignment | Every 1000 hours | Accurate cutting |
| Test safety interlocks | Every 6 months | Operator safety |
Frequently asked questions
How often should I service my laser machine?
It depends on usage. Most machines need basic checks every 250 to 500 hours. Heavier use may require more frequent service.
Can I skip maintenance if the machine is working fine?
No. Many failures are sudden. A machine can work perfectly one hour and fail the next. Planned service prevents this.
Do I need to hire a specialist for every check?
Not always. Basic tasks like cleaning and inspection can be done by trained operators. Major repairs require specialists.
How do I know if my maintenance schedule is working?
Track your downtime. If unplanned stops decrease, your schedule is effective. Also track your parts usage.
What is the biggest cost of poor maintenance?
Lost production time. The repair cost is usually small compared to the revenue lost while the machine is down. ===END===